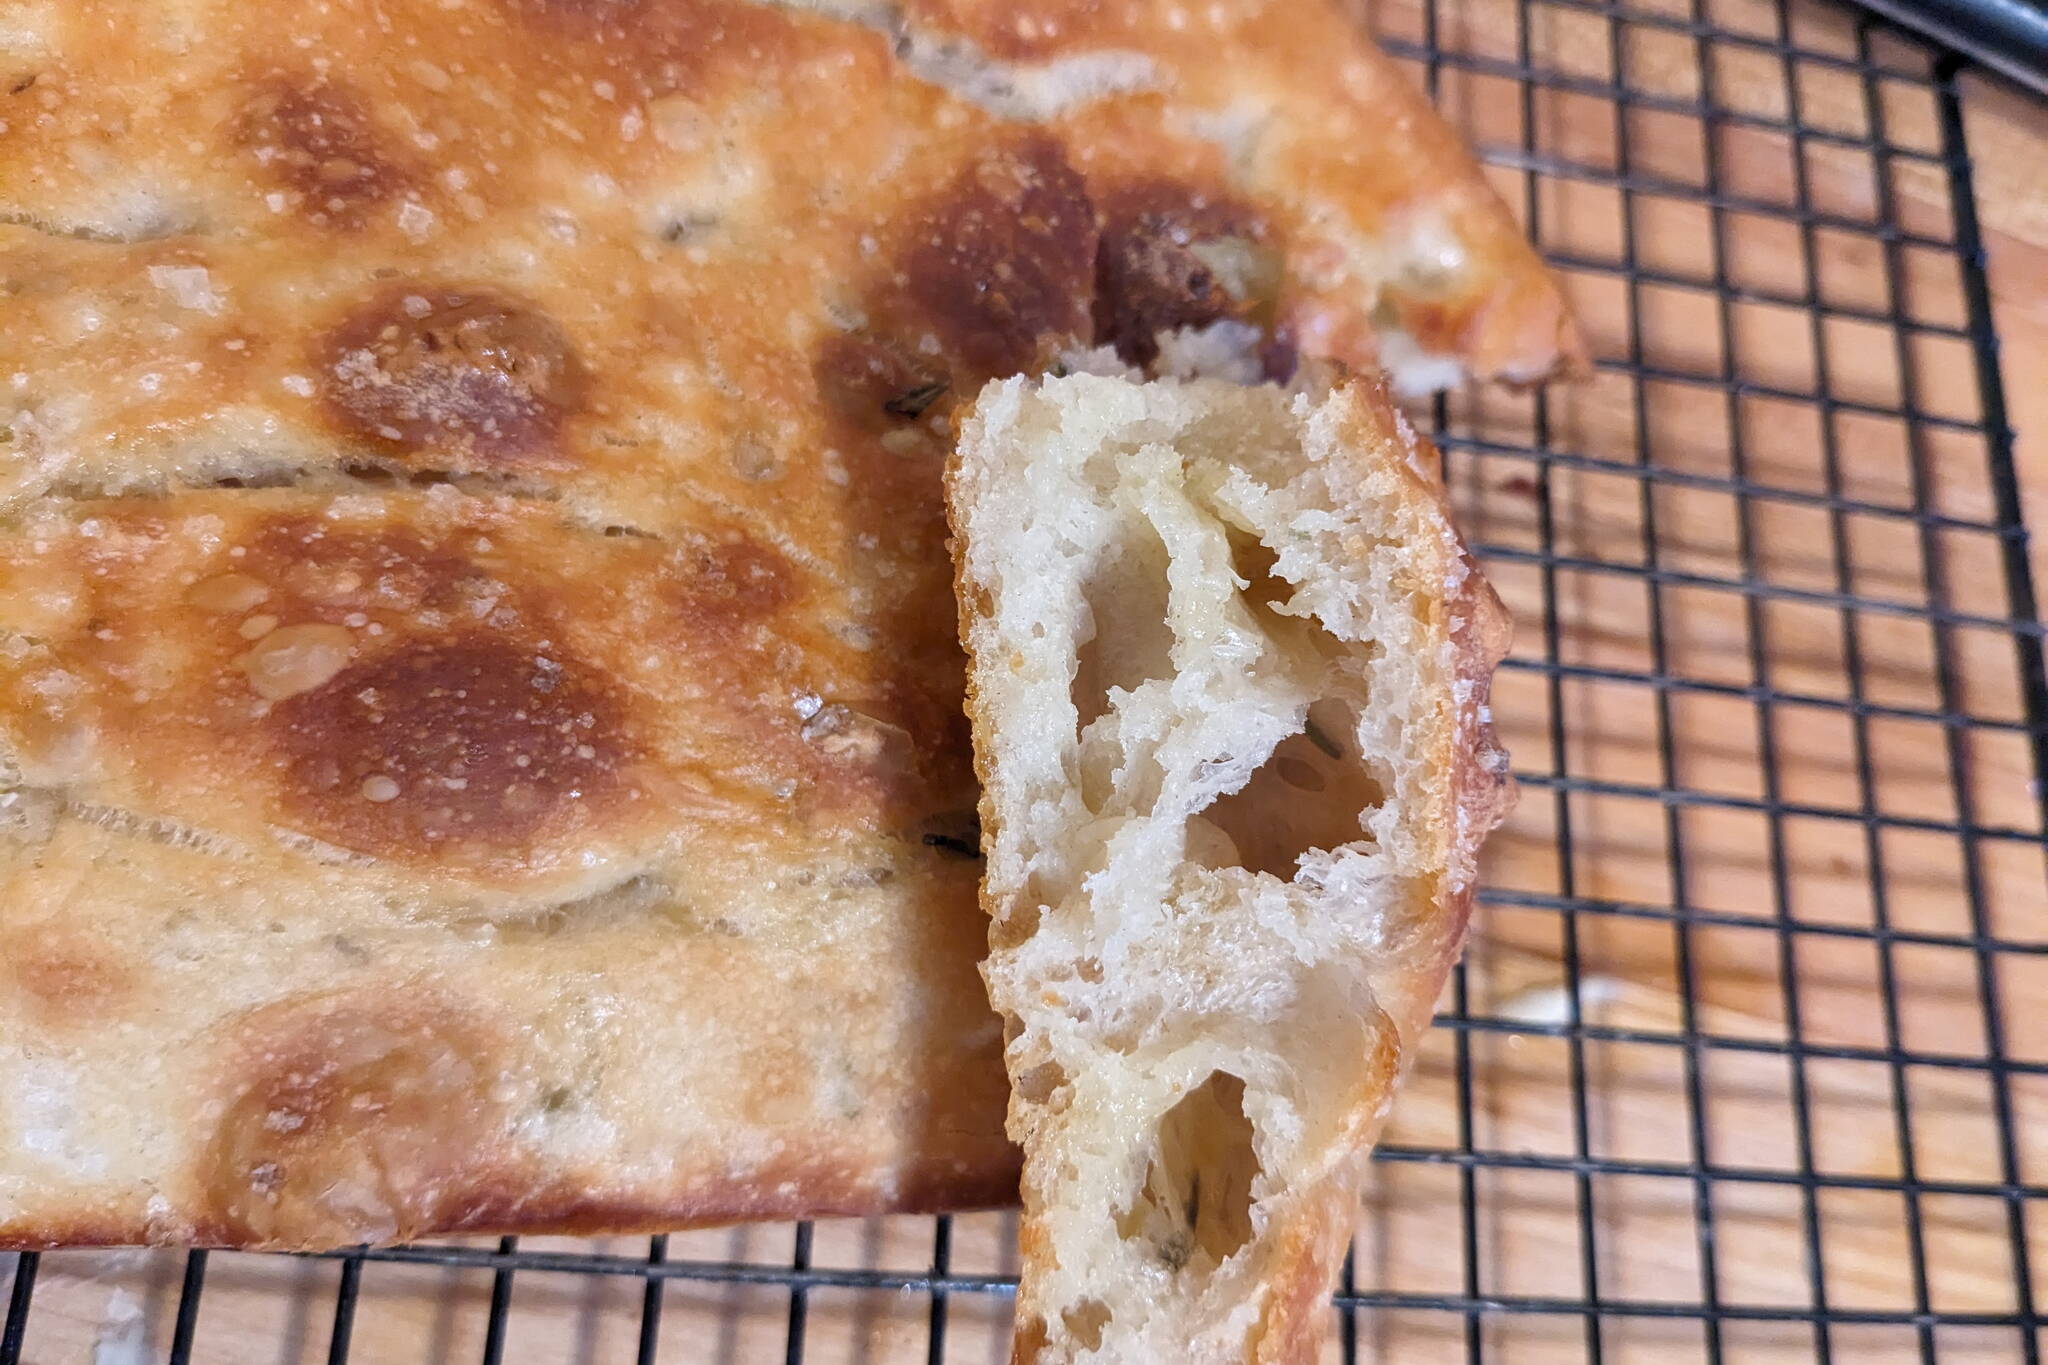
When I am lucky enough eat at good Italian restaurants in Seattle or elsewhere, the warm focaccia often served really enhances the meal. I always thought it must be difficult to make so I never tried making it at home. Then one day I was browsing through YouTube videos looking for alternative methods of making French bread. Just for fun, I adapted one of them to make focaccia. If only I had known years ago how easy it is.
Although this recipe uses fresh minced rosemary, don’t use it if you don’t like it. It will still be good. This bread requires very little hands-on work. No kneading at all. Most of the dough fermentation takes place in the refrigerator. The process is started the day before you plan to eat it. The resting in the refrigerator results in a lovely, slightly sour aroma that can be tasted in your first bite.
Ingredients:
1 ½ cups of tepid water (about 80 degrees)
2 3/4 cups of flour
1 tsp yeast
1 tsp salt
1 tablespoon of fresh minced rosemary
Olive oil for final baking
Day One
Step One: Pour 1 ½ cups of tepid water into a six- or eight-cup mixing bowl. Add one teaspoon (no, not a tablespoon) of yeast to the water and stir a bit. Add 1 teaspoon of salt and stir again.
Add a cup of all-purpose flour and stir into the water. Then add one tablespoon of fresh minced rosemary (or a little more if you want). Mix to combine then add another cup of flour and stir again. Gradually add the remaining flour to make a slightly stiff batter making sure that all the flour is mixed in. At this point, the dough will look sloppy. Don’t worry about it. Cover it with plastic wrap and let it sit on your kitchen counter for 45 minutes.
After 45 minutes, gently fold over the dough by scraping the sides of the bowl with a spatula. Only do this about four or five times. Then cover the dough again and let rest for another 45 minutes. After this amount of time the dough should begin to rise slightly. Gently turn over the dough a few times with your rubber spatula, cover again and let rest for another 45 minutes.
Fold over the dough again, which should start to have a pleasant slightly fermented aroma. Cover tightly with plastic wrap and place it in the refrigerator overnight.
Day Two
Step One: Three hours before you plan to serve the bread, remove the dough from the refrigerator, stir it down gently and let it rest at room temperature for an hour and a half.
Step Two: Pour about two tablespoons of olive oil into a 9X13-inch metal baking pan to generously cover the bottom. Scrape the dough into the pan, spreading it around gently with a rubber spatula. If it doesn’t spread much at first, let it rest for ten minutes then try again. Don’t worry about stretching it to fit the sides of the pan. If it looks like a gooey, slow-moving elastic blob with lots of air bubbles, it’s perfect. Let rest for an hour. The dough will rise slightly.
Step Three: Preheat oven to 425 degrees. Using your fingers or the handle of a wooden spoon, punch holes into the dough. Pour about 2 tablespoons extra virgin olive oil over the dough and into the holes. Sprinkle the dough with coarse salt (about a teaspoon). I use flaky Kosher salt, but use what you wish.
Step Four: Bake for approximately 30 minutes or until the top is a nice deep golden brown. Remove from pan with a metal spatula (it should be easy with all that olive oil) and place on cooling rack.
Cut into squares while still warm. Enjoy. (Any leftovers make great sandwiches)
• Patty Schied is a longtime Juneau resident who studied at the Cordon Bleu in London, has cooked meals for both AWARE and the Glory Hall, and has written a cookbook. Cooking For Pleasure appears every other week in Capital City Weekly.

